InfoRouter Scan Station User’s Guide
1- Local file system contents appear on the left hand side of the screen. The infoRouter libraries and sub-folders appear on the right hand side of the screen.
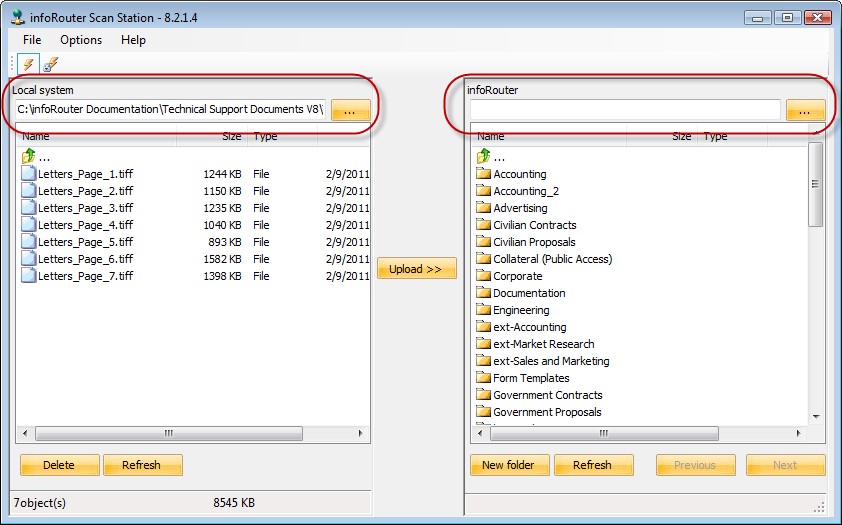
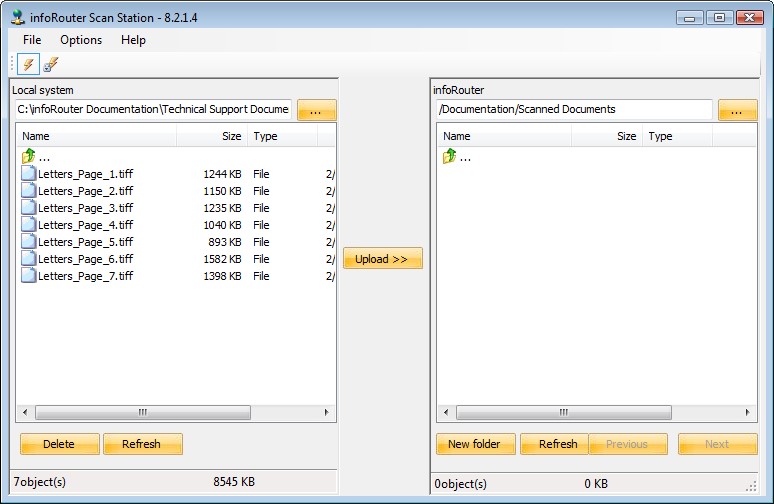
2- Navigate to the local scanned images folder.Then navigate to the target infoRouter folder.
3- Click on the “Process Options” menu (located under the options menu) to display the options window. Here you will be able to set your processing options
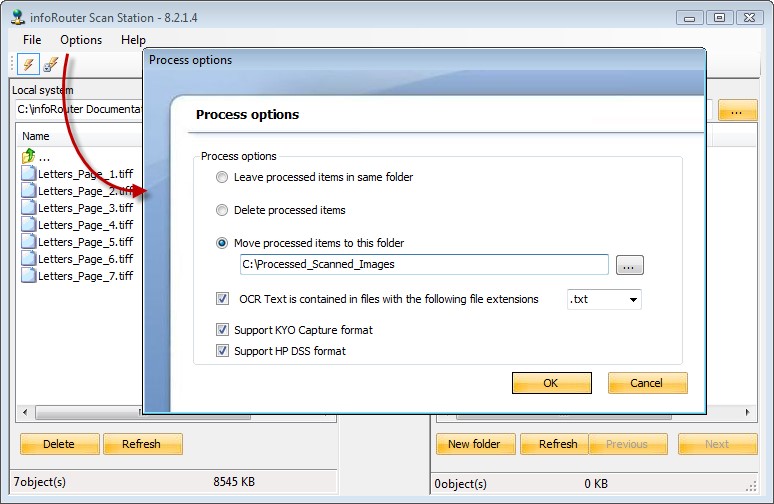
4- Click on the “Process Options” menu (located under the options menu) to display the options window. Here you will be able to set your processing options
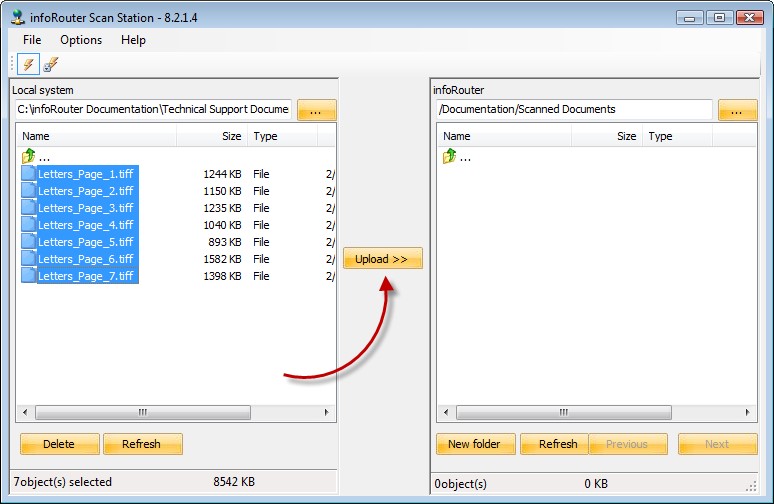
5- Select one or more scanned documents and click on the “Upload” button to send the selected documents to infoRouter.
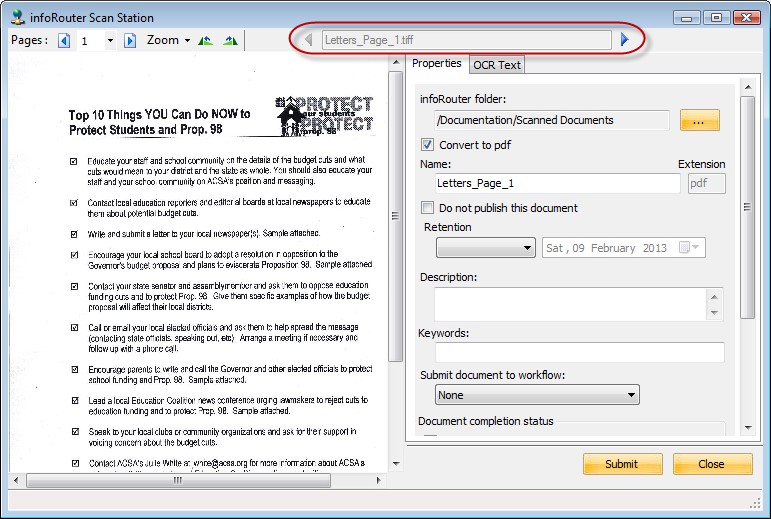
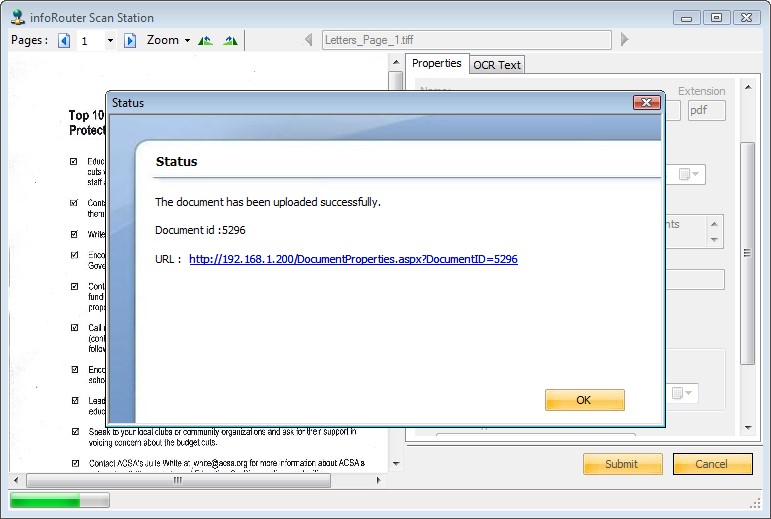
6- Notice that the first selected document is displayed. Use the right hand panel to specify document properties. You may set properties such as “retention”, enter keywords and descriptions for the document.
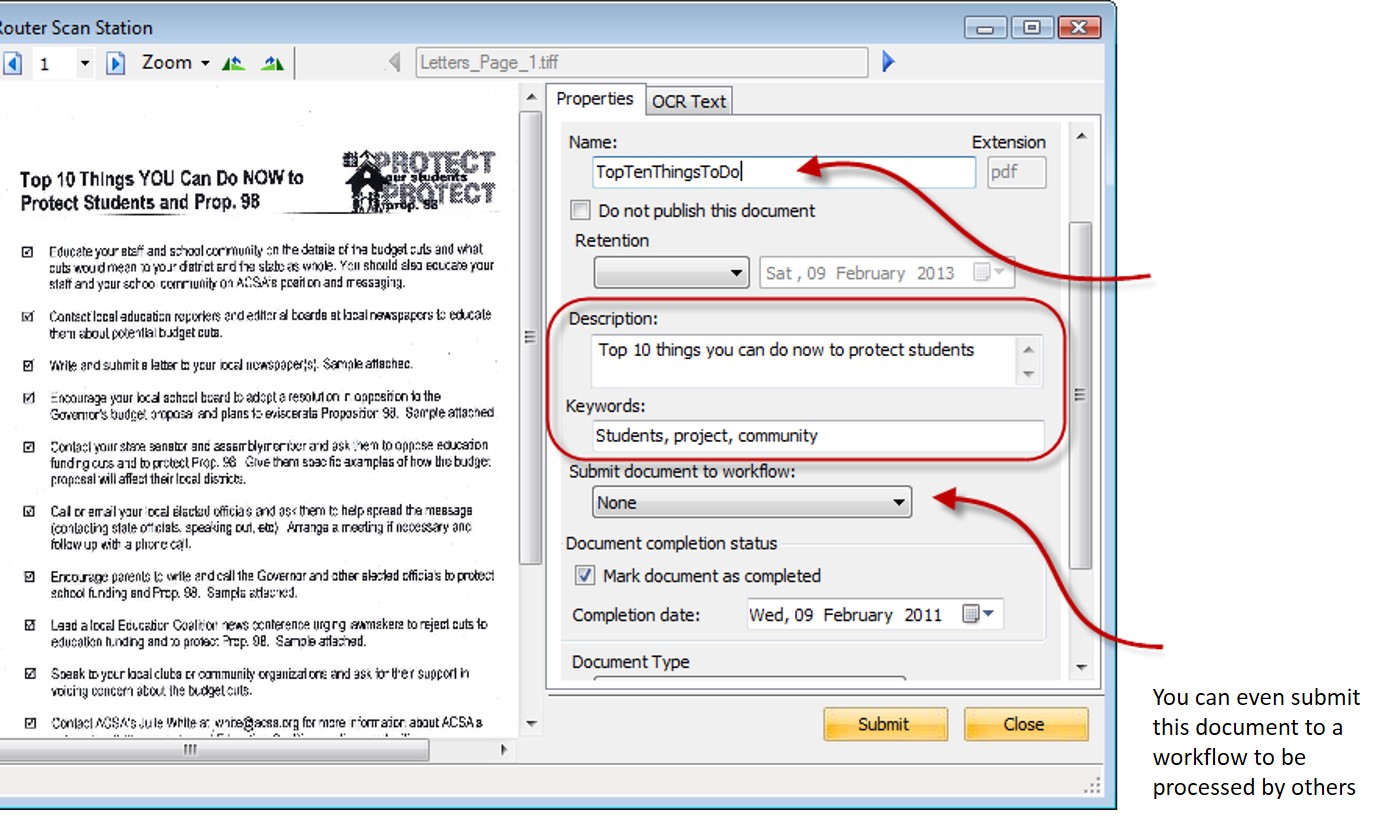
7- You can change the document name to be much more descriptive than the one created by a scanning software. You can enter a description and keywords to assist in searching for this document in the future.